Most screenshots are created because they are faster than writing something down. That is useful in the moment, but it leaves confirmations, jokes, design references, receipts, directions, and accidental captures in the same camera roll.
The goal is not to organize every screenshot. It is to make one quick decision: temporary, photo memory, or reusable reference.
1. Triage by purpose
Open the Screenshots media type in Photos and review a manageable batch. For each image, decide which of these jobs it has:
- Temporary handoff. A boarding pass already used, a number already entered, or a message already sent. Delete it.
- Visual memory. Something you want to browse as an image. Keep it in Photos and add it to an album when that improves browsing.
- Reusable reference. A receipt, instruction, product detail, quote, menu, or project example you expect to find by meaning. Put it in a reference system with context.
Delete obvious mistakes and duplicates first. That creates momentum and makes the meaningful decisions easier.
2. Use Photos for visual browsing
Photos is a strong home for images you recognize visually or by date, place, or album. Create a small number of durable albums rather than one for every topic. Albums such as Home, Travel, Work Reference, or Receipts can be enough.
Remember that adding an image to an album does not create a separate copy. Deleting it from the main Photos library also removes it from albums, so use deletion only when you no longer need the photo there.
3. Give reusable references more context
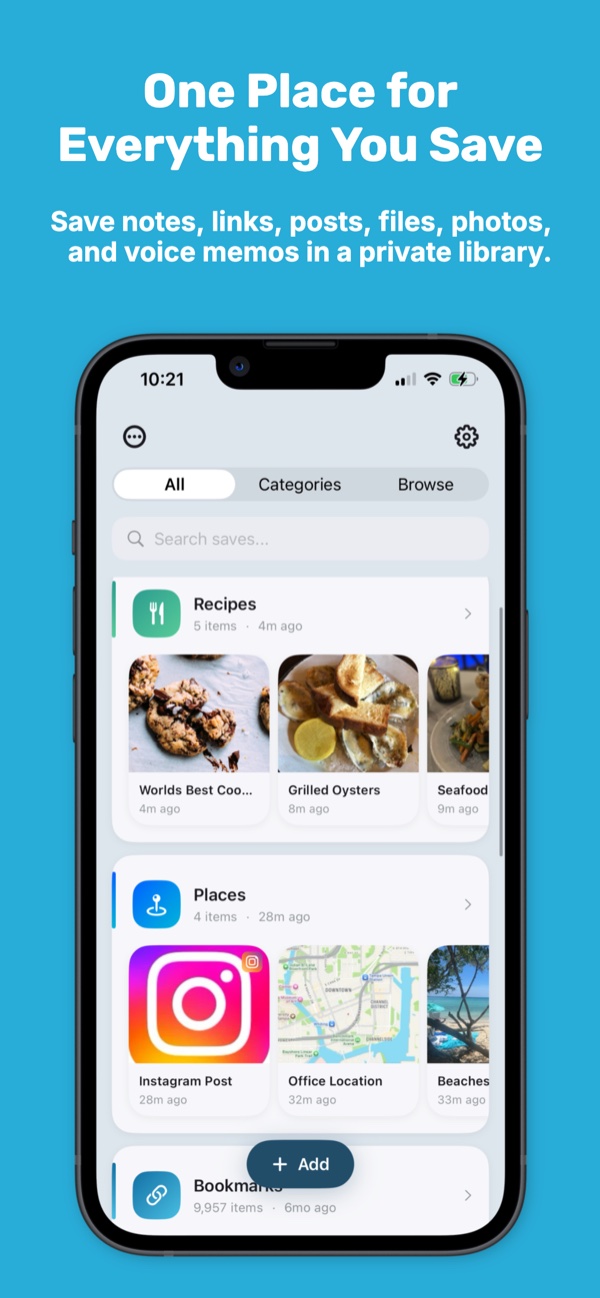
A screenshot often represents something outside the image: a purchase, trip, project, article, recipe, or conversation. A save-it-for-later library can keep that image beside a note, source link, attachment, tag, collection, or reminder.
To add a screenshot to KeepSpot, select it in Photos, tap Share, and choose KeepSpot. Use a title that names what you will search for later. Add a collection when the screenshot belongs to a larger project.
4. Search the words inside selected screenshots
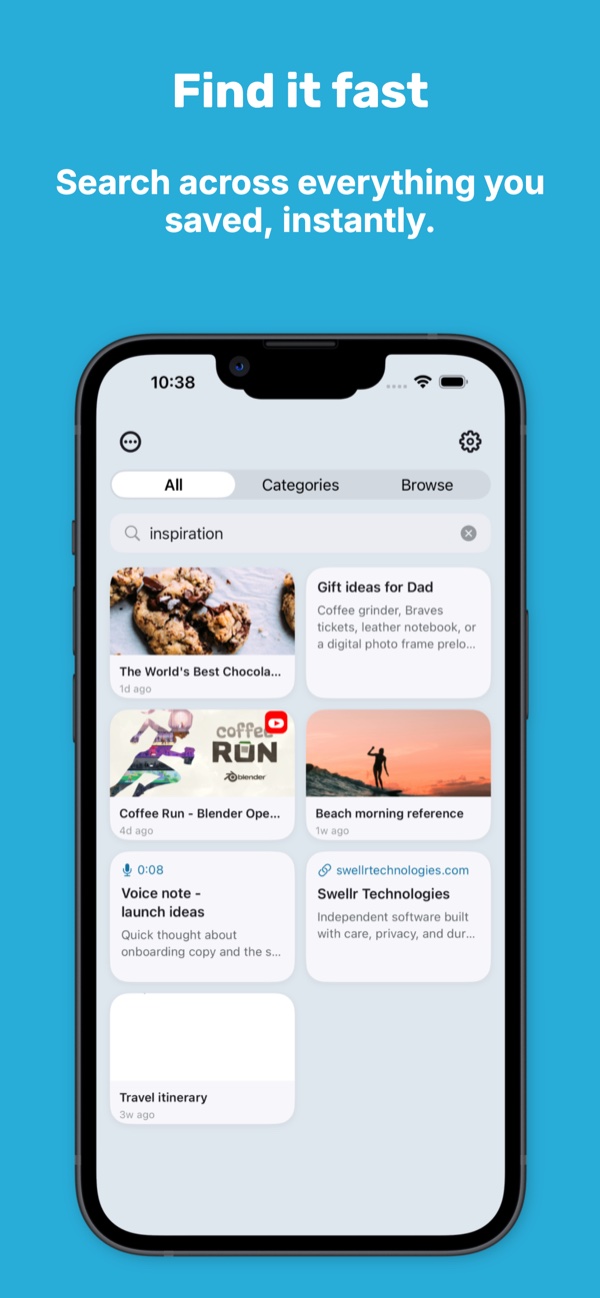
KeepSpot's Smart Photo Search can use on-device OCR to index text in photos and screenshots you choose to save. That makes it possible to search for a merchant, order number, menu item, address, or phrase visible in an image.
KeepSpot does not automatically scan your whole camera roll. The feature applies to images you intentionally add, and recognition quality depends on text size, clarity, contrast, language, and layout.
5. Finish with a short clean-up loop
- Confirm that any important reference arrived in its destination with the expected title or attachment.
- Delete temporary and duplicate screenshots from Photos.
- Empty Recently Deleted only when you are certain you no longer need those images.
- Repeat with a small batch each week or after a screenshot-heavy task.
A ten-minute review is easier to sustain than a complete camera-roll overhaul. The win is not a perfect archive; it is confidence that important references have somewhere dependable to live.
The minimum useful metadata
Do not turn filing into its own project. For most saved screenshots, one descriptive title and one collection are enough. Add a note only when the image does not explain why it matters, and add a reminder only when it points to a real future action.